This month, DigitalOcean announced their new App Platform. Introducing a modern look on a Platform As A Service (PaaS).
With the App Platform, you can build, deploy, and scale apps and static sites quickly and easily The platform is supposed to bring three main benefits:
- Fully managed
- Maximize developer productivity
- Scale app, not costs
Deploying up to three static sites is free, as with many other providers. I used to host this blog on Netlify, another web and application hosting provider that provides free static hosting. But decided to switch to DigitalOcean the moment they announced their new platform. I have always been an fan of DigitalOcean, and have been using a Droplet for years for other personal projects.
Deploying
To follow the rest of this guide, a DigitalOcean account is needed. A static site deployed to GitHub is also a prerequisite. In the future I will write a post about how to create a blog using Hugo, a static site generator. The overall deployment process is quite simple and only takes a couple of minutes if everything is properly configured. The only issue i ran into was getting SSL to work on a custom domain. This is discussed below.
1: Login to DigitalOcean and select the ‘Apps’ tab.
2: Select ‘Create App’
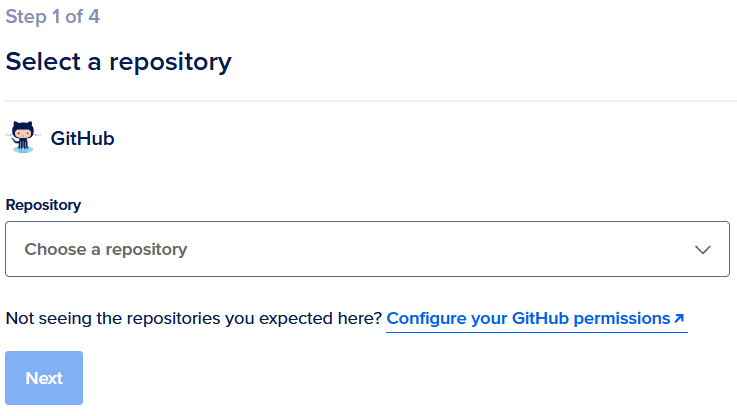
3: Select a repository
During this step we will select the GitHub repository containing the code for our blog. If GitHub is not yet linked to DigitalOcean, this can be done during this step 1. Not seeing the correct repository? Make sure DigitalOcean has the permission to view the required repository.
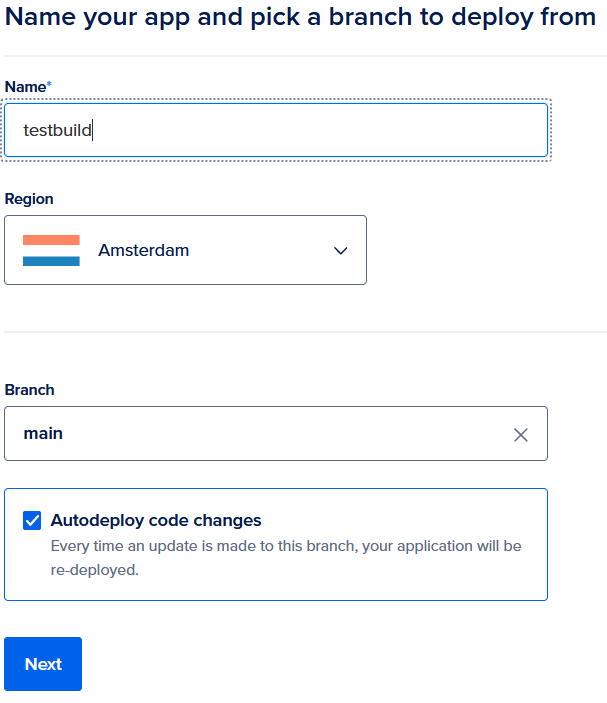
4: Name your app!
In this phase you can give your app a name. Use a logical name, this allows you to easily find the correct app when deploying multiple instances. Depending on your preference, we can choose between Frankfurt, Amsterdam and New York for the region. Select the region that is closest to your target audience.
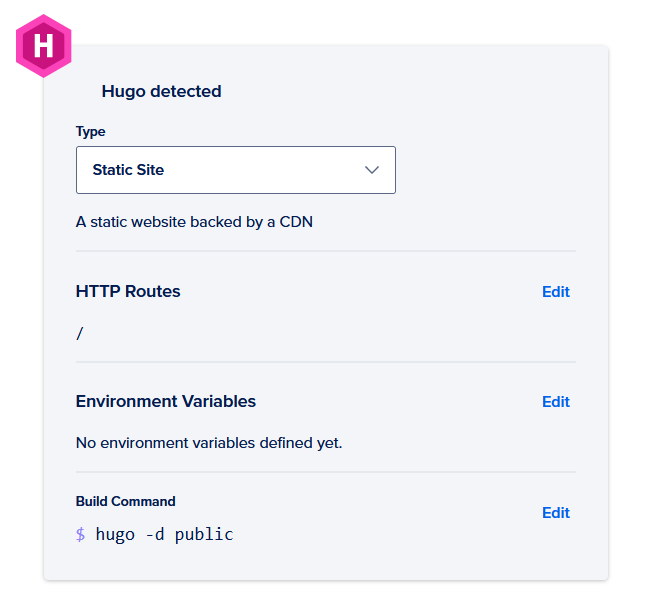
5: Hugo detection
This is where you will find out if the Hugo code you deployed is recognized by DigitalOcean. Click next if DigitalOcean recognizes your repository as Hugo.
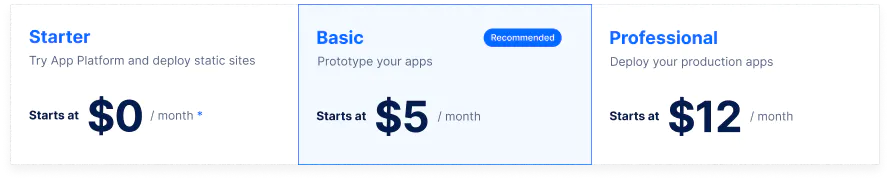
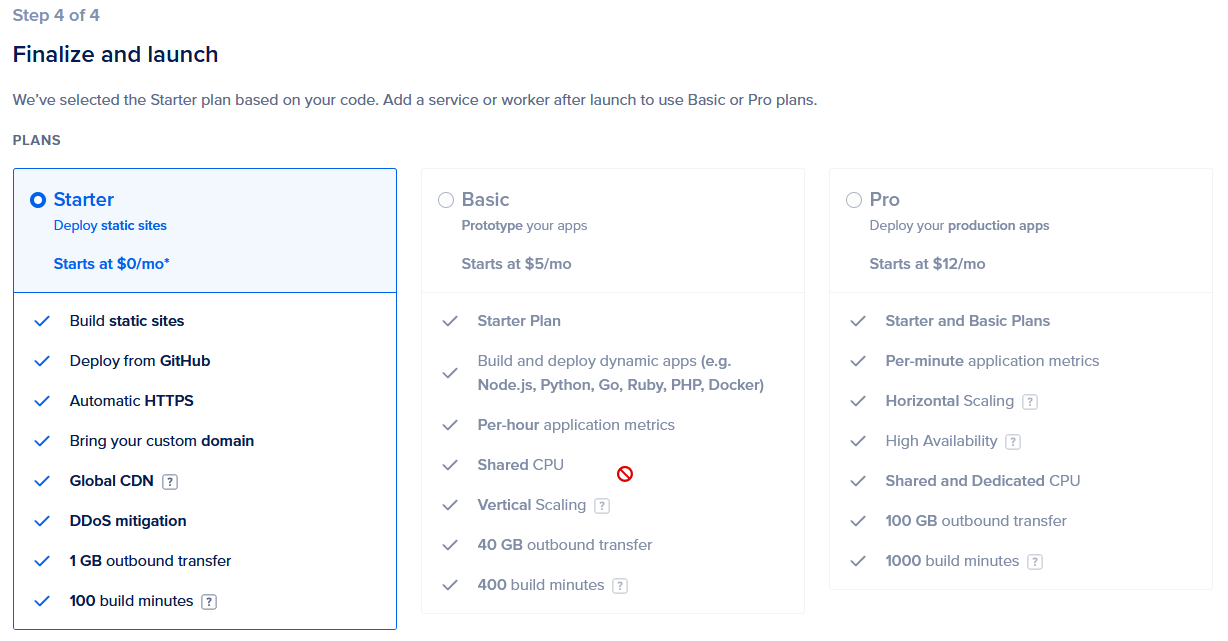
6: Select a plan
Choose between Starter, Basic or Pro. For a simple blog, the starter plan is more than adequate. If more processing or bandwidth is required, you can always upgrade later.
7: Success, your app is deployed.
SSL on custom domain
Adding a custom domain name to the app and following the instructions from DigitalOcean can cause some issues. I added my domain mgeluk.com to the deployed app and followed the instructions. After checking the website a hour later I got an “SSL version or cipher mismatch error.” This happens when the CNAME record is not yet configured before adding in to the DigitalOcean app. DigitalOcean’s TLS certificate issuer catches the NXDOMAIN (not found) DNS record and delays the issuing process. The correct steps are:
- Login to your DNS provider
- Create a new CNAME record
- CNAME Alias = “Auto generated domain from DigitalOcean”
- At my domain providers this looks like:

- DigitalOcean -> Apps -> “App name” -> Settings -> Domain & Certificates -> + Add Domain
- Fill in your domain name and click “Add Domain”